Sealing concrete is a crucial step in protecting and enhancing one of the most durable materials used in homes and businesses. Whether you’re safeguarding your driveway, patio, or indoor floors, sealing ensures your concrete looks great and lasts for years to come. But how do you approach the task of sealing concrete properly? This guide will walk you through everything you need to know.
Why Sealing Concrete is Important
Concrete is tough, but it’s not indestructible. Over time, unsealed concrete can become subject to cracking, staining, and damage from water, chemicals, and other elements. Properly sealing concrete provides several benefits, including:
- Increased Durability – Sealing protects against moisture penetration, reducing cracks and weathering.
- Stain Resistance – A sealed surface is less likely to get stained from oil, grease, or spills.
- Enhanced Longevity – Regular sealing extends the life of your concrete, keeping it looking and performing like new.
Concrete should be sealed shortly after it has fully cured (usually 28 days after pouring) or whenever the existing finish starts to wear off.
Types of Concrete Sealers
Choosing the right sealer is vital since it determines how well your concrete is protected for its intended use. Here’s an overview of the main types:
Penetrating Sealers
- Ideal for heavy-duty protection in driveways and outdoor settings.
- Includes silicates, siloxanes, and silanes that penetrate the surface and repel water.
- Maintains the natural look of concrete.
Film-Forming Sealers
- Best for areas needing extra shine or decorative finishes (e.g., patios or indoor floors).
- Includes acrylic, epoxy, and polyurethane options.
- Creates a protective film on the surface.
How to Choose the Right Sealer
- For outdoor surfaces like driveways or walkways, go for penetrating sealers.
- For decorative indoor surfaces like polished floors, consider acrylic or epoxy-based sealers.
- Polyurethane offers excellent protection for areas prone to wear and tear.
Preparing the Concrete for Sealing
Preparation is key to ensuring the sealer adheres properly and works effectively. Follow these steps:
- Clean the Surface
Remove all dirt, grease, mould, or previous sealers using a pressure washer or a heavy-duty degreaser. Ensure the surface is completely clean before moving forward. - Repair Any Cracks
Fill cracks and make repairs to ensure a smooth, even surface. You can use a concrete patching compound for this. - Ensure Proper Drying Time
If you’re sealing new concrete, allow it to fully cure (28 days) before sealing. For pressure-washed concrete, wait a minimum of 24-48 hours for it to dry completely.
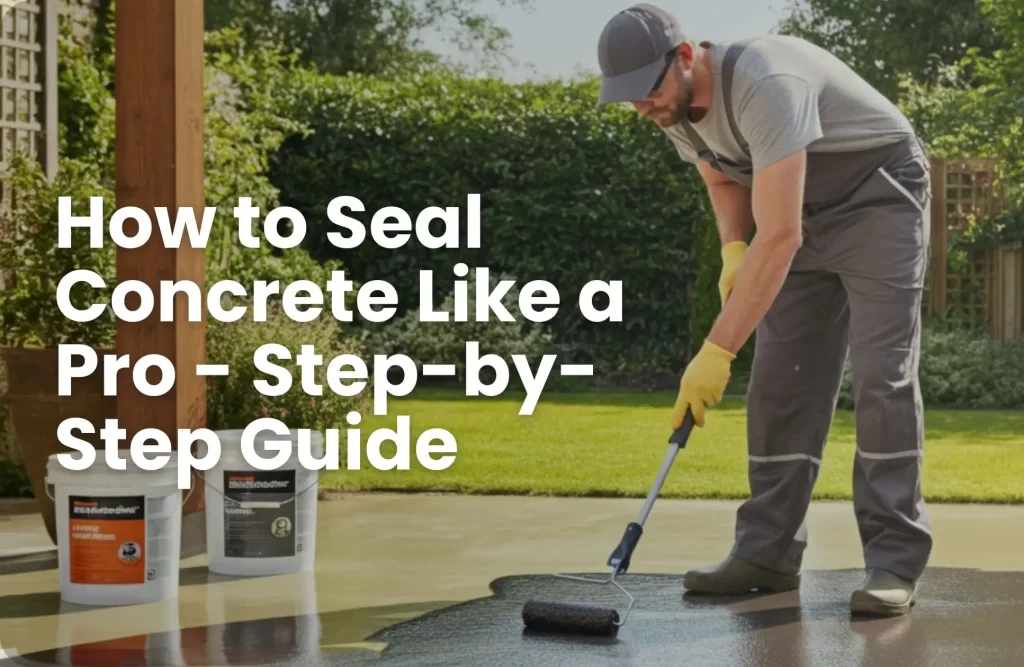
Step-by-Step Guide to Sealing Concrete
Sealing concrete may sound technical, but it’s manageable—even as a DIY project—when broken down into steps:
Step 1: Choose the Right Sealer
Pick the sealer most suited to your project, whether it’s for a patio, driveway, or indoor floors.
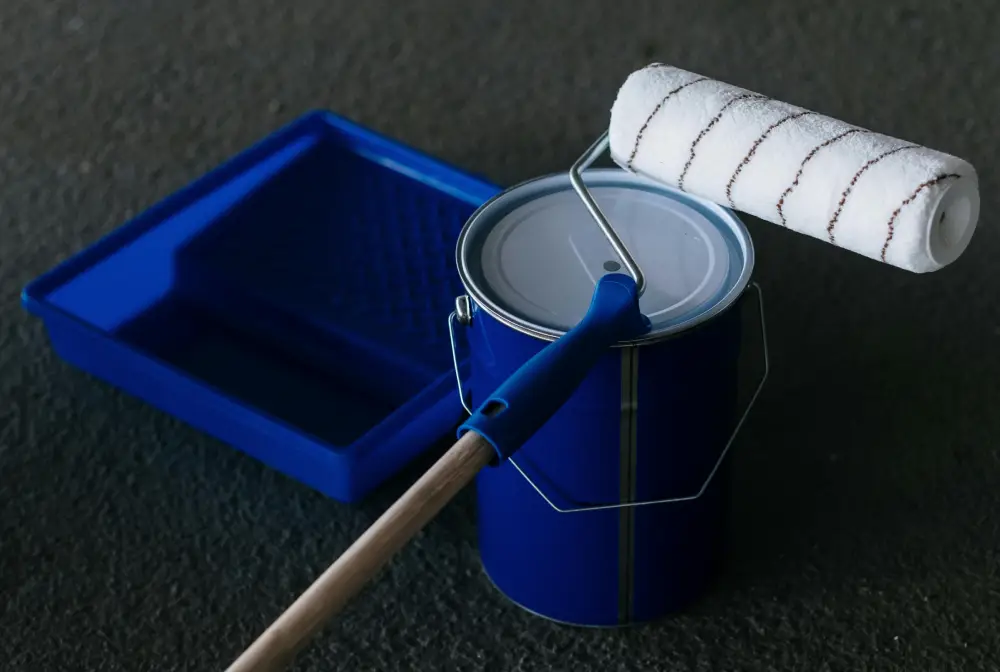
Step 2: Gather Your Materials
You’ll need the following:
- Roller, sprayer, or brush
- Safety gear (gloves, mask, protective eyewear)
- Sealer of choice
Step 3: Apply the First Coat
Using a roller or sprayer, apply the sealer evenly across the surface. Start from the farthest corner and work your way out to avoid stepping on coated areas.
Step 4: Apply a Second Coat (if Needed)
For extra durability, apply a second coat once the first has dried. Follow the manufacturer’s instructions for drying times between coats.
Step 5: Allow Proper Curing Time
Before using the sealed surface, allow it to cure fully. This can take anywhere from 24 to 48 hours, depending on the product used.
Common Mistakes to Avoid
Avoiding these pitfalls will save you time and ensure a professional finish:
- Sealing Too Soon
Concrete needs time to cure; sealing too early can trap moisture and reduce its effectiveness. - Applying Uneven Coats
Uneven application will lead to a patchy finish. Take your time and apply the sealer evenly. - Ignoring Weather Conditions
Avoid sealing if it’s too hot, cold, or humid—extreme weather can affect the sealing process. - Using the Wrong Sealer
Always match the sealer to your concrete type and intended use.
Maintenance and Resealing Tips
A well-sealed concrete surface still needs some care to keep it at its best. Here’s how to maintain it:
- Resealing Frequency
On average, outdoor concrete should be resealed every 2-3 years, while indoor concrete may only need resealing every 4-5 years.
- Cleaning Tips
Regular cleaning with mild soap and water prevents dirt and grime build-up. Avoid harsh abrasives that can damage the sealer.
- Signs It’s Time to Reseal
If you notice dullness, water soaking into the surface, or fading, your concrete likely needs a new seal.
FAQs About Concrete Sealing
Typically concrete needs sealing every 2-5 years. These each are dependent on seal type and wear level. Sealing can reduce risk of cracking. Still, environmental factors can cause damage.
Extreme temperature shifts can damage. Heavy loads as well. Regular maintenance is necessary. It helps preserve concrete quality.
Not necessarily. Many sealer types are designed to boost traction. You can also apply anti-slip additives. Extra safety on outdoor surfaces can be achieved this way.
Recap and Final Thoughts
Sealing concrete is one of the best ways to protect and beautify your space, ensuring your surfaces last for years to come. By choosing the right sealer, following proper prep steps, and avoiding common mistakes, you can give your concrete the care it deserves.
Need assistance or professional help? Contact us today for expert concrete sealing services and elevate the strength and appearance of your surfaces.
Related Blog Posts